Remember that secret project we mentioned a couple of weeks ago? For a few of our orders, we've had secret projects because our friends are buying gifts for each other and they are our friends on
Facebook, so we can't share everything going on at the shop. For the record, we LOVE "Secret" Projects. We will take pictures along the way and email to the buyers, so that they can see the progress and get just as excited as we do about the project while it's in progress. So, Terri, the fiance of one of our very best friends (Chad) called us from Maryland a couple of months ago and said she wanted to surprise Chad with a sign for his bike shop,
Stella Kustoms. See, it was being rebuilt after a 2011 storm knocked down a tree into the side of the house and the shop. FEMA declared it a was a disaster area. Chad had to rebuild and it has been a long, gruesome and expensive process for them. Terri wanted to surprise him with a token of her affection for all of the hard work that he put into the rebuild (Audience "
Aws" here). So, we were doing things all in secret on behalf of Terri and these are the progress pics we sent to her. We had to wait until the project was delivered before we could share them here or on
Facebook. (By the way,
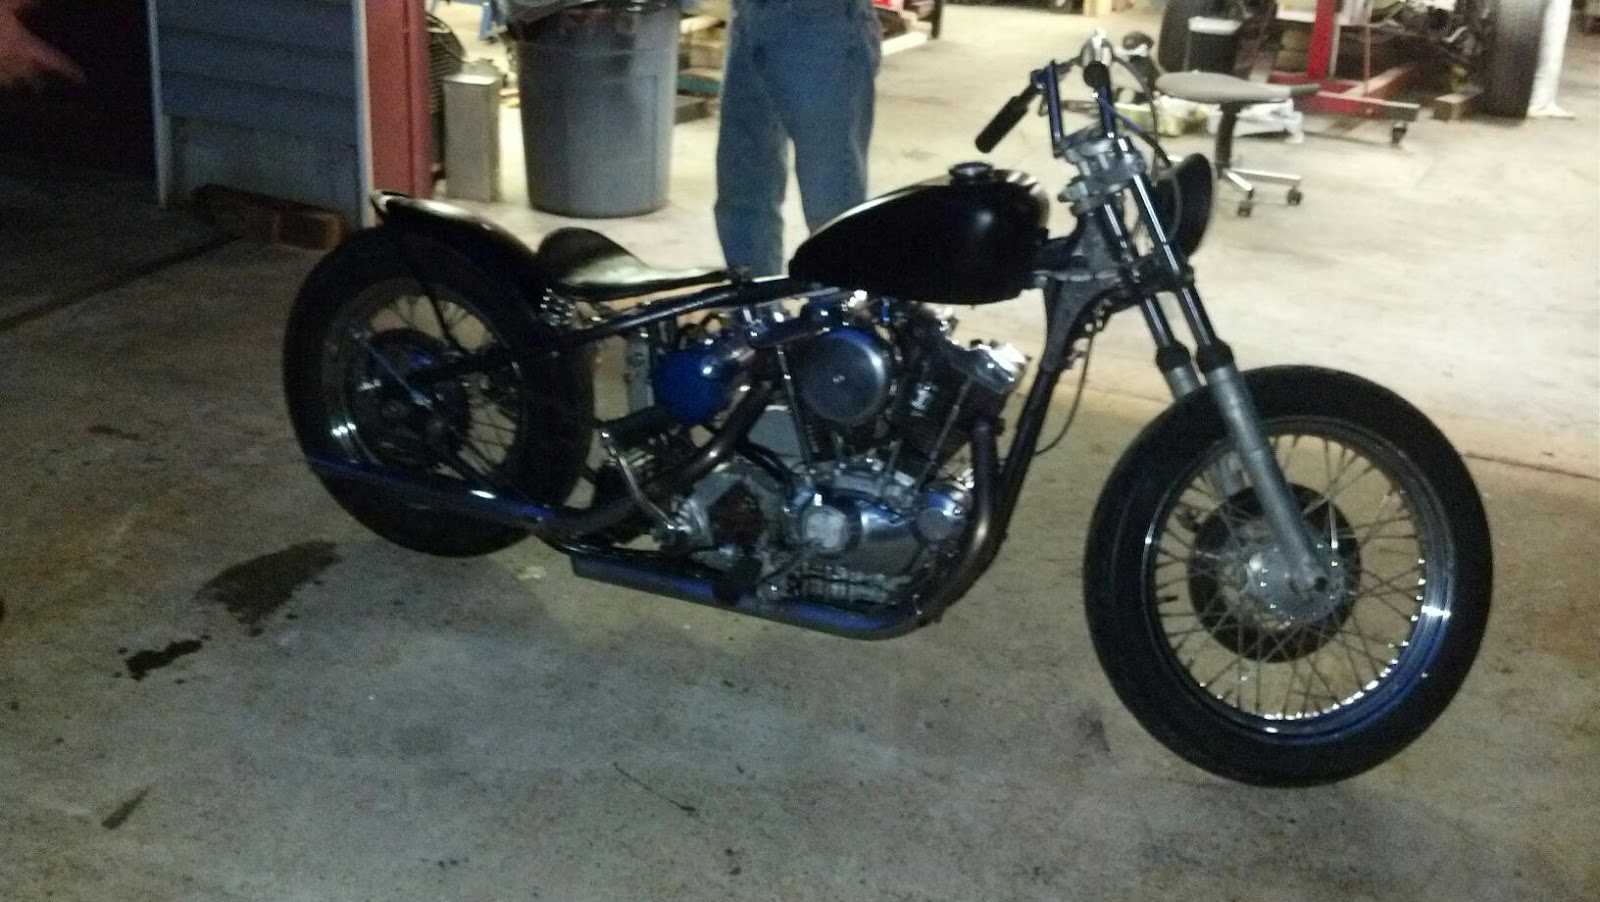
Brass Hammer Designs does not normally deliver that far away, but Josh is selling his '75 Iron Head and he had to take it to Chad to get it fixed up proper and introduced to a major biker community that Chad and Terri are in.)
Anyway, we thought our fans would enjoy this.
 |
| Step 1: Basic Tongue & Groove boards cut to size and nested. |
|
 |
| Step 2: Nailed together with a couple of supports. |
 |
| Step 3: Stained with a solution made from steel wool soaked in distilled white vinegar for 24 hours. This is what the backside of the sign looks like. (This is Jen's opinion, but I think that there is a good chance that the next sign made will be treated 100% with this stain and the paint applied over that stain.I like this look very much.) |
.jpg) |
| Step 4: The tools we used to "distress" the wood. Our poor neighbors probably wanted to know what in the world we were doing while beating the crap out of the wood, but it made for a very neat effect. |
 |
| A little extra for the receiving customer. |
 |
| And it is reversible depending on his mood. :) |
 |
| Step 5: Testing the crackle technique used on the front to make it look like it came off the side of an old barn - just like the Mail Pouch signs. |
 |
 |
| Step 6: Treated the entire sign with crackle technique. First we painted the top white, then put the crackle paint down, then painted it black. We did sand it a bit to get a better effect, then distressed it again with the tools from above. |
|
 |
Step 7: Outline and painting
You can see a chalk outline on the board. We used a projectoscope to reflect the image onto the sign and traced it with white chalk. There is a tiny piece of orange duct tape in the center of the star that we used to line it up and make sure that we getting accurate lines. Then, we started painting from lightest color to darkest. This is bout 4 hours in with white only. |
.jpg) |
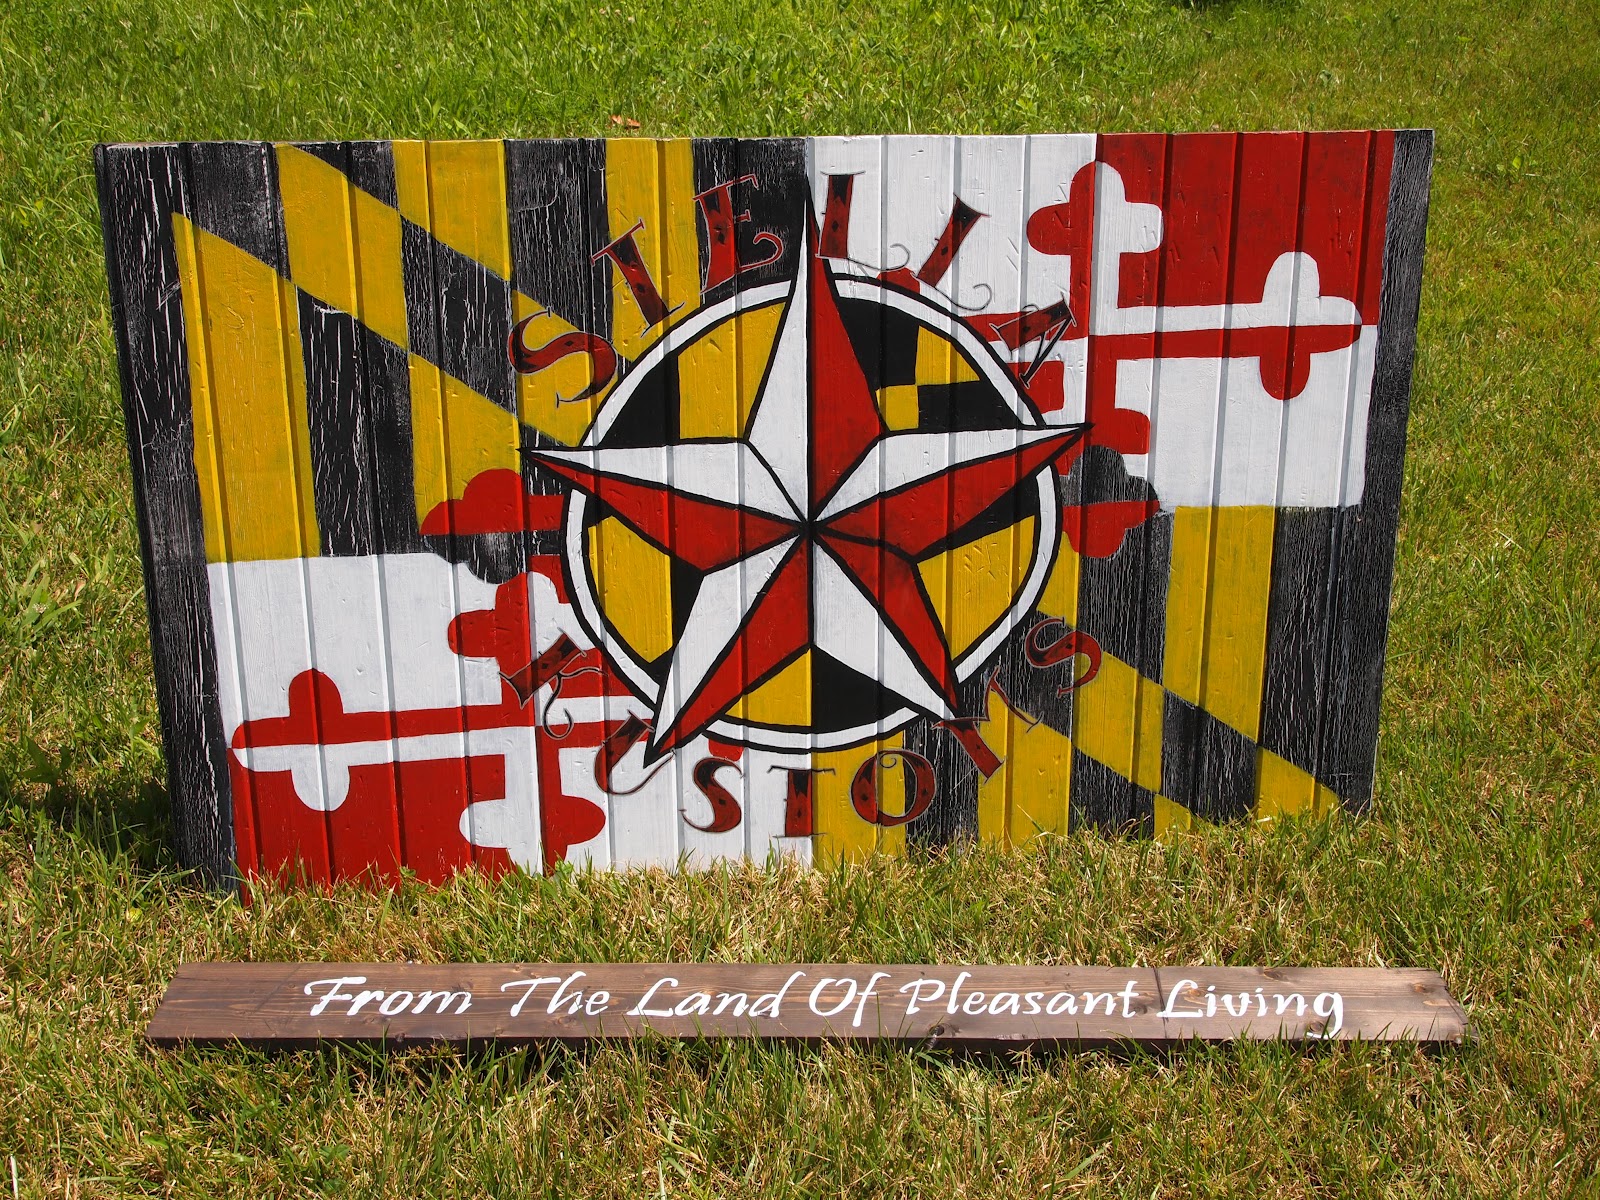
| More paint by color.... About 10 hours in. I (Jen) had a goal in mind that the Maryland Flag was what was "cut" out of the old barn, and then the Stella Kustoms logo was painted over it with fresh paint, so I left the black portions of the Maryland Flag in the background with the distressed look. I also painted very lightly over that with the yellow, so you can see a bit of it through. Then the Stella Kustoms logo is painted "fresh" over the top of it making it the focal point of the sign. |
 |
| Almost done -just need something to make those letters "pop" more. |
 |
| Step 8: Finito and Stella Kustoms returns the favor with fixing Josh's "Jalopy" and make it shine just the same. |
|
|
|
 |
| Just like we said.... Stella Kustoms made the old Jalopy shine again and has it ready for sale. |
|
|
|
|
Until next time.....


.jpg)


.jpg)


No comments:
Post a Comment